How to See the Northern Lights
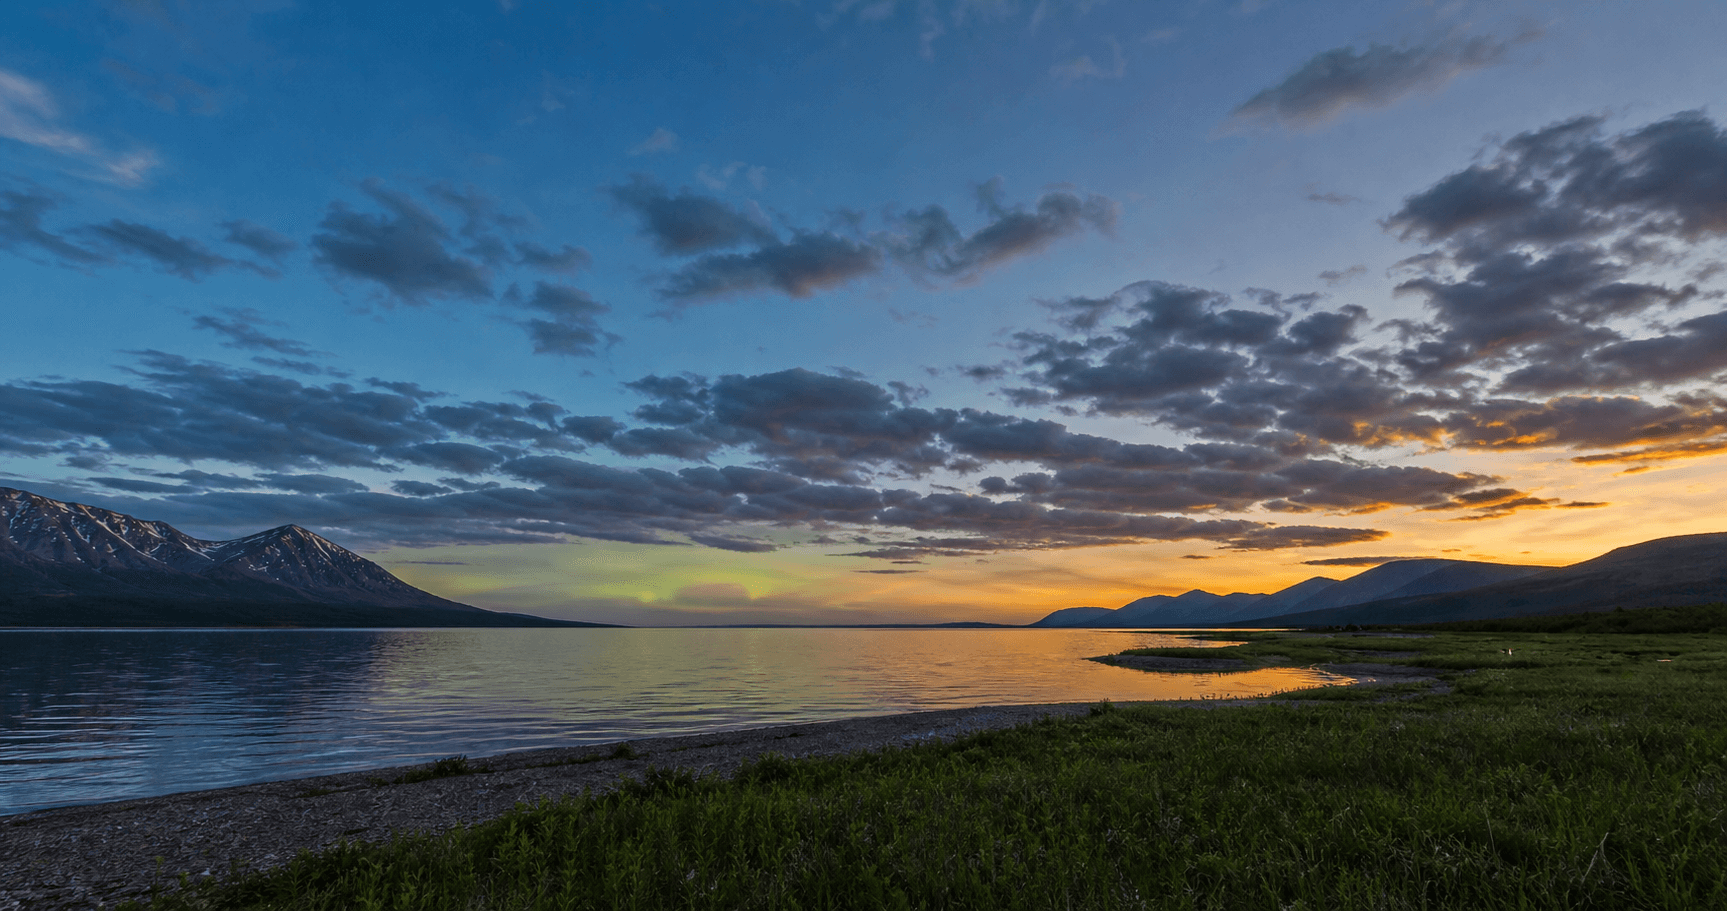
If you want the short answer first, here it is: to see the northern lights, you need to be in a dark place, under clear skies, at the right time of night, while geomagnetic activity is strong enough for your location.
That sounds like a lot, but the process is actually pretty manageable once you know what matters. You do not need a PhD in space weather. You mostly need a decent forecast, a realistic location, and the willingness to go outside when your couch is making a strong counterargument.
The simplest way to improve your chances
For beginners in the U.S. and Canada, these are the big things to line up:
- Go somewhere dark, away from city lights if possible
- Check that skies will be clear or mostly clear
- Look during fully dark hours, not twilight
- Watch for active aurora conditions close to your viewing time
- Be farther north if you want better regular odds
If one of those pieces is missing, your chances drop quickly. A strong aurora above a cloudy city is still mostly just a cloudy city.
Start with location, because location does a lot of the work
The northern lights are usually easiest to see in higher-latitude places closer to the auroral oval, which is the region where aurora activity most often forms.
That means:
- Northern Canada and Alaska have the best regular odds
- Southern Canada and the northern U.S. can do well during stronger activity
- Farther south in the U.S., you usually need an unusually strong geomagnetic storm
If you live in Alberta, Manitoba, Yukon, Alaska, Minnesota, or northern Michigan, you are working with better odds than someone in Texas or Georgia. That does not mean southern states never get auroras, but it does mean the bar is much higher.
If you want a deeper travel-focused guide, best places for aurora tourism is the better companion article.
Darkness matters more than many people expect
Auroras can be active without being visible. That usually surprises beginners.
The sky has to be dark enough for you to actually see the glow and structure. If the Sun is still affecting the sky through evening twilight, or if you are dealing with bright summer nights far north, even a decent aurora can look weak or disappear from view entirely.
In practical terms, that means:
- Fall through early spring is usually best
- Late evening through early morning is often the main viewing window
- Summer is usually a poor time to try in far northern places because the sky may never get properly dark
If you want the full seasonal explanation, why it is hard to see the northern lights in summer covers that in more detail.
Clear skies are non-negotiable
People often focus on aurora forecasts and forget to check ordinary weather.
Cloud cover is one of the most common reasons people miss the lights. Even during a strong geomagnetic storm, thick clouds will block the view completely. Thin cloud can also wash out faint auroras enough that they become hard to notice.
Before you leave, check:
- Cloud cover
- Fog or haze
- Moon brightness if the aurora is expected to be faint
- Whether nearby hills, trees, or buildings block your northern view
This is why a simple rural turnout can outperform a more famous location if the famous location is cloudy.
Use an aurora forecast, but use it the right way
An aurora forecast is a tool, not a guarantee.
What you are usually looking for is whether geomagnetic activity is strong enough for your location. The farther south you are, the stronger the event generally needs to be. Forecasts can help you judge when the odds are improving, but they cannot promise that the lights will brighten right when you are standing outside.
If you are new to this, focus on a few basics:
- Watch whether activity is trending upward near your local nighttime hours
- Use a forecast that reflects your country or region, not just a global headline
- Recheck close to departure time, because conditions can change quickly
The U.S. forecast and Canada forecast are the most practical next step once you know your sky will be dark and clear.
If you want to understand why forecasts can still miss the mark, why the aurora is hard to predict explains the messy details.
Know what the lights may actually look like
A lot of first-time disappointment comes from expecting the sky to look exactly like long-exposure photos.
Sometimes the aurora really is bright, obvious, and moving. Other times it starts as a faint arc, a pale green glow low on the horizon, or a band that looks more impressive in a camera than to the naked eye.
That does not mean the forecast was wrong. It usually means the aurora is moderate, distant, or competing with moonlight, twilight, or light pollution.
For beginners, a useful mindset is:
- Look for unusual pale green, gray-green, or milky bands to the north
- Watch for motion or changes in shape
- Use your phone camera briefly if you think you see something faint
Cameras often pick up color and contrast better than your eyes. Your phone is not cheating. It is just annoyingly good at night mode.
Give yourself time outside
Auroras do not always appear on a neat schedule. They often brighten in bursts, then settle down again.
That means a ten-minute check is not always enough, especially if the forecast is promising but not extreme. If conditions look decent, give yourself a proper viewing window instead of a very quick look from the driveway while still holding your house keys.
Helpful approach:
- Arrive before the expected peak window if you can
- Stay at least 30 to 90 minutes when conditions are favorable
- Keep checking the northern sky instead of assuming the first quiet stretch tells the whole story
Patience is not glamorous advice, but it works.
What to bring for a better first outing
For casual watchers, comfort matters more than fancy gear. If you are cold, rushed, or squinting through a bright parking lot, you are less likely to stick it out long enough to catch anything.
Useful basics:
- Warm layers
- A charged phone
- A red-light flashlight or dim flashlight setting
- A thermos if you are going to be out a while
- A spot with a safe place to park and a broad northern view
If you are in remote parts of Canada or Alaska, also think about road conditions, cell coverage, and basic safety. A great aurora location is less charming if it becomes a roadside logistics problem at midnight.
Common beginner mistakes
Most missed aurora attempts come down to a few repeat problems:
- Going out under clouds because the aurora forecast looked exciting
- Staying too close to city lights
- Checking too early, before the sky is fully dark
- Expecting a high forecast number to guarantee a dramatic overhead display
- Giving up after a few quiet minutes
The good news is that all of those are fixable. Aurora watching is much easier once you stop treating it like a single magic moment and start treating it like a set of conditions that need to line up.
The takeaway
To see the northern lights, you need four things working together: enough geomagnetic activity, enough darkness, clear enough skies, and a location far enough north or dark enough to give you a real shot.
For beginners in the U.S. and Canada, the smartest plan is simple: go out during the dark season, check the cloud forecast, use a live aurora forecast close to viewing time, and head somewhere darker if you can. That will not guarantee a show, but it will improve your odds far more than chasing viral headlines and hoping the universe booked you a private performance.