How to Photograph the Northern Lights With an iPhone
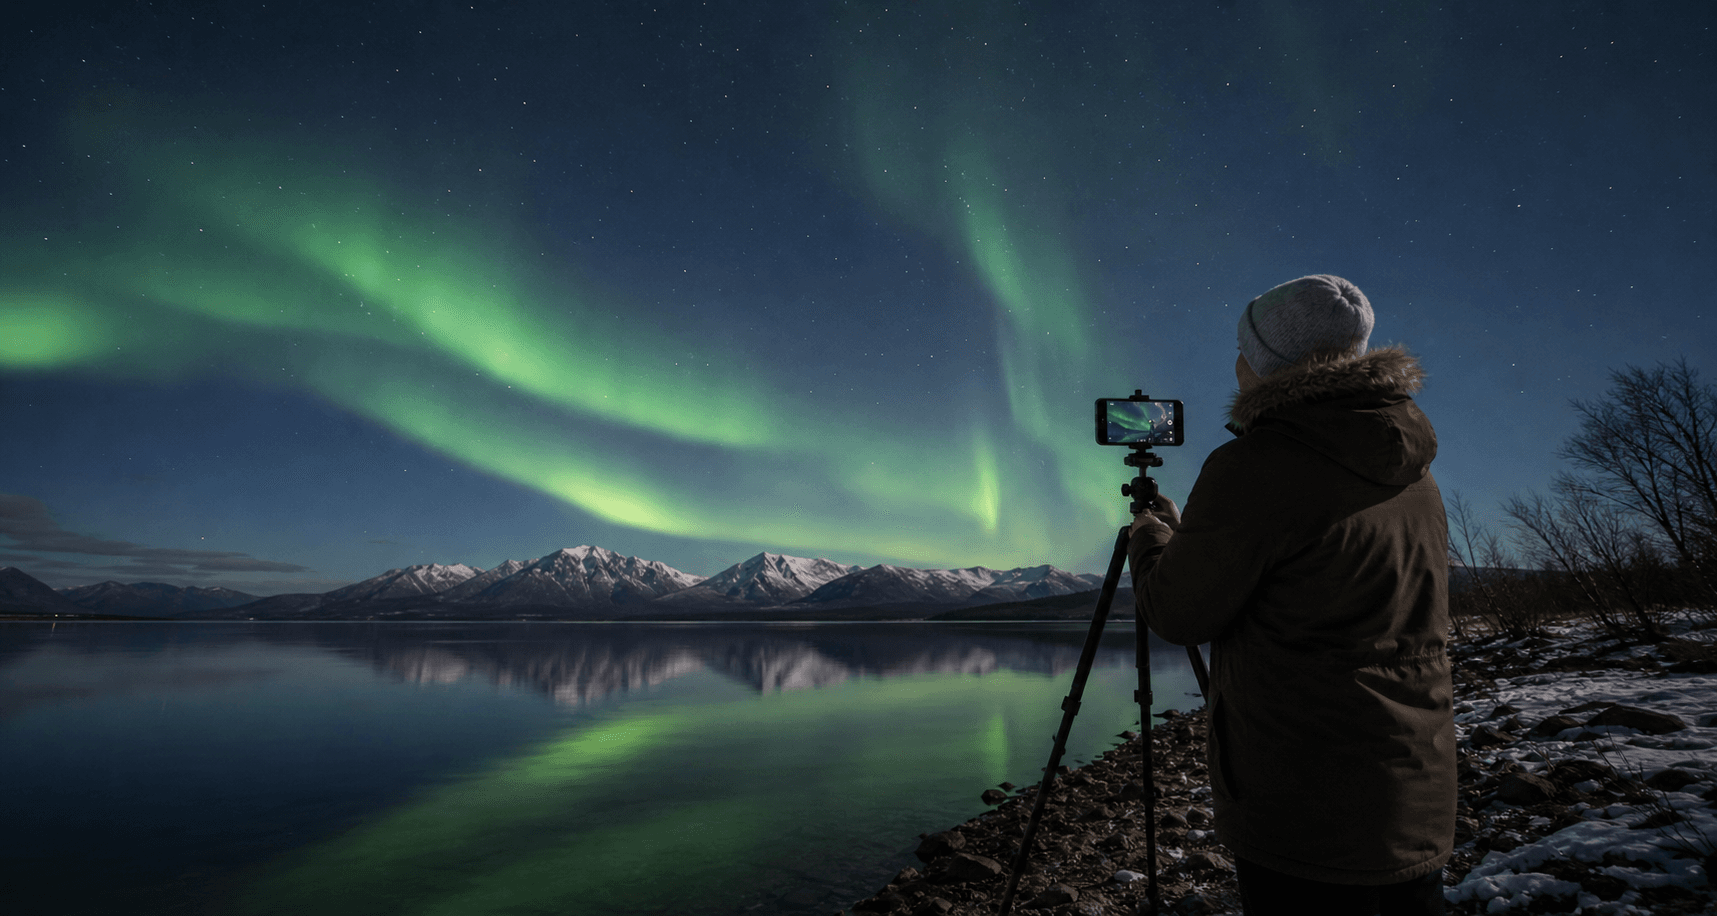
Yes, you can photograph the northern lights with an iPhone. The trick is not secret camera wizardry. It is giving the phone a dark sky, a steady position, and an aurora that is actually strong enough to show up.
For casual aurora watchers, the biggest improvement usually comes from three things: using Night mode, keeping the phone still, and lowering expectations shaped by dramatic long-exposure social media photos. Your iPhone can do a solid job. It just cannot negotiate with clouds, twilight, or a weak display.
The short answer
If you want the practical version first, do this:
- Use Night mode
- Keep the iPhone as still as possible, ideally on a tripod
- Tap to focus on the sky and lower exposure slightly if the scene looks blown out
- Use a timer or remote trigger so you do not shake the phone
- Shoot from a dark location with a clear northern view
- Expect the camera to see more color than your eyes do
That last point matters. A faint aurora may look gray-green or barely noticeable to you while the iPhone picks up more color. Your phone is not lying. It is just more patient than your eyeballs.
What matters more than camera settings
Before worrying about which iPhone model you have, make sure the conditions are worth photographing.
The best aurora photos still depend on the usual basics:
- Enough geomagnetic activity for your location
- Clear skies
- Real darkness
- Low light pollution
- Time to wait for brighter bursts
If the sky is bright with twilight or covered by clouds, even the best phone settings will mostly document your disappointment. If you need the forecast side first, how to read an aurora forecast is the better starting point.
Night mode is the main feature doing the work
On modern iPhones, Night mode is what makes aurora photography realistic for non-experts.
When the scene is dark enough, the Camera app usually enables Night mode automatically. You will see the moon icon and an exposure time, often a few seconds. The phone then combines that short sequence into one brighter image.
For aurora photos, that means:
- Longer Night mode exposures usually pull out more faint detail
- A steadier phone lets the image stay sharper
- Brighter, faster-moving aurora may need less exposure than a very faint glow
If the aurora is weak, the phone often performs better when it can use a longer Night mode capture while sitting completely still.
A tripod helps more than people expect
If you only buy or borrow one accessory for iPhone aurora photography, make it a small tripod with a phone mount.
Handheld shots can work when the aurora is bright, but a tripod helps because:
- The phone can use longer Night mode exposures
- Fine detail stays sharper
- You avoid blur from tapping the shutter
- Repeated shots are easier if the aurora changes shape
If you do not have a tripod, brace the phone against a car roof, fence post, backpack, or anything stable that does not involve your hands trying their best in the cold.
Simple iPhone setup that works for most people
You do not need a complicated manual workflow to get useful results. Start simple.
Recommended setup:
- Clean the lens before you start
- Turn Night mode on if it is available
- Use the main
1xcamera instead of zooming in - Avoid digital zoom
- Set a
3or10second timer - Hold still until the capture finishes
The main wide camera is usually the safest choice because it tends to perform better in low light than zoomed-in options. Digital zoom mostly gives you a larger view of the same noise.
How to handle focus and exposure
Most of the time, the default Camera app does a decent job, but you can still help it a little.
Try this:
- Point the phone at the sky where the aurora is visible.
- Tap near the brighter part of the aurora or horizon.
- If the image looks too bright or washed out, slide the exposure down slightly.
- Take a few versions instead of trusting one shot.
Why lower exposure a bit? Because city glow, snow, moonlight, or bright foreground lighting can make the image look flatter than it should. A slightly darker exposure often preserves more shape in the aurora.
What to expect from different aurora strengths
The iPhone result depends a lot on how bright the aurora actually is.
Faint aurora
A faint aurora may look like:
- A low greenish band
- A pale glow near the northern horizon
- More color in the photo than with your eyes
This is normal. Many first-time watchers think the camera is exaggerating, but it is often just collecting more light than your vision can in the same moment.
Bright aurora
When the display is stronger, you may capture:
- Clear green curtains
- Better structure and rays
- More obvious movement between shots
- Occasional pink or purple tones on some nights
Bright aurora is easier for both you and the phone. It is also much less common than the internet makes it look.
The best place to stand
A good iPhone photo starts with a better viewing spot.
Try to find:
- A dark area away from city lights
- A clear view toward the north
- An open foreground without bright lamps
- A safe place to stand without traffic or constant headlights
Foreground can help the photo, but keep it simple. Trees, a cabin, mountains, or a snowy shoreline can add context. A parking lot floodlight usually adds regret.
If you are still deciding where to go, how to see the northern lights covers the broader viewing setup.
A few settings and habits that often make photos worse
These mistakes are common:
- Zooming in digitally
- Shooting handheld for every frame
- Standing under bright lights
- Leaving the phone case lens area smudged
- Moving the phone before Night mode has finished
- Expecting summer twilight to behave like winter darkness
That last one catches people regularly in Alaska and northern Canada. If the sky never gets properly dark, the aurora may be active and still look weak in photos. Why summer makes aurora visibility difficult explains why.
Should you use a third-party camera app?
For most casual aurora watchers, the built-in Camera app is enough.
Third-party apps can be useful if you want manual control over shutter speed, ISO, focus, or RAW capture. But they also make it easier to overcomplicate a situation that is already happening in the dark, in the cold, and possibly while you are wearing gloves that make every button feel theoretical.
If you do experiment with a manual app:
- Keep ISO moderate rather than maxing it out immediately
- Use a tripod
- Compare the result with standard Night mode
- Do a few test shots before the best activity starts
The built-in app is still the best default if your goal is quick, reliable results.
The most realistic beginner workflow
If you are heading out tonight, this is a practical sequence:
- Check the U.S. forecast or Canada forecast.
- Confirm cloud cover and darkness.
- Go somewhere darker if possible.
- Set the iPhone on a tripod or stable surface.
- Use Night mode and a timer.
- Take several shots as the aurora changes.
- Review them, adjust exposure slightly, and shoot again.
That workflow is usually more useful than hunting for perfect technical settings before you have even found a dark sky.
The takeaway
To photograph the northern lights with an iPhone, focus on the basics: dark skies, clear weather, a stable phone, Night mode, and realistic expectations. Newer iPhones can capture surprisingly good aurora photos, especially when the display is bright and the phone stays still.
The best results usually come from treating the phone as a capable night camera, not a miracle machine. Give it a solid forecast, a tripod, and a dark place to work, and it can do much more than most beginners expect.